
A few days ago someone asked me "How do you paint like that?" and I thought to myself well I just do. This lead me into deeper thought and reflection about how far I've come. I don't just do I have learned over 20 years varying techniques and skills and those have now become part of my I just do.

I paint therefore I am
There are a few things I want to cover off before you even think to begin putting paint to miniature. First things first is that you have to want to paint if you're painting because you need to finish an army but you're not enjoying what you're doing what's the point.

I was searching sarcastic motivational posters but this seems appropriate
Pick your paint times it's no good trying to start a project at 10pm on a school night. It's better to paint in the morning when the light isn't too harsh and the day is generally cooler and finally you will make mistakes this is life it happens to the best of us this is why ink washes exist.

Don't do this
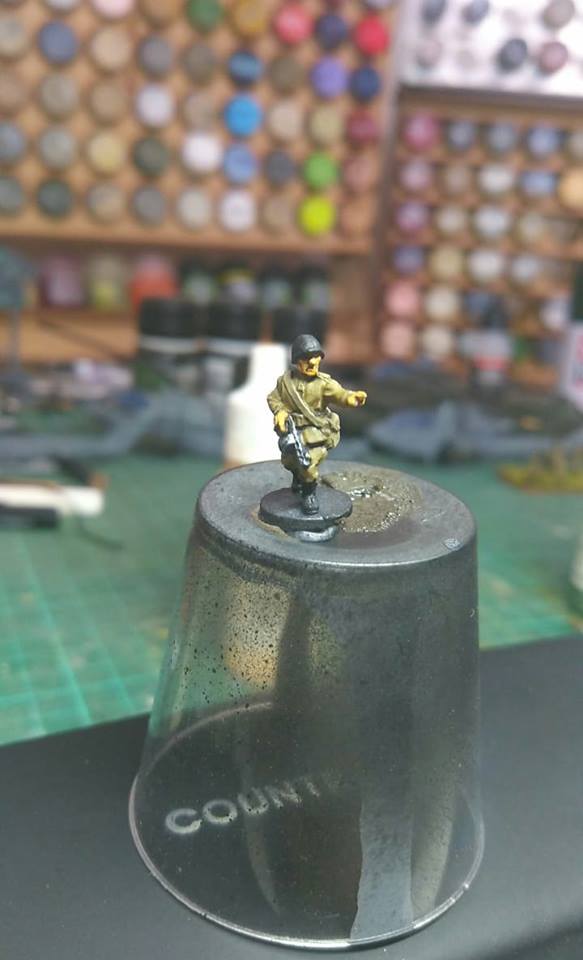
Ok on to the painting for this example we're going with one of Battlefronts new plastic Soviets, mostly because I have about 4000 of them and this helps get them done, they are a simple colour pallet and don't have too much additional equipment like a German grenadier.

9 paints not including any ink washes, the miniature, a notebook where I document all my colour schemes (this has saved my butt so many times) and of course glasses because I am longsighted.
The colours I use are similar to what you used to buy in a boxset for each nation. I use Vallejo exclusively as they have the best range for military colours. The colours here are Black, Gunmetal Grey, Beige Brown, Medium Fleshtone, Flat Flesh, Khaki Grey, Khaki, US Field Drab and Russian Green. Not pictured is a simple black wash.

These are the backs of the paint sets I was talking about they are on Google and very handy
Ensure you miniature is primed before painting for most folks this is self explanatory but if you're new to miniature painting it may not be. This helps the paint stay on the miniature as it gives it something to grab rather than smooth metal or plastic.

Once that's done we'll move onto blocking in the main colours in this case it's a lot of Khaki Grey and some Beige Brown on the exposed flesh, Khaki on the webbing, Gunmetal in the gun bits and US Field drab on the canteen and SMG pouch.

Once completed it's time for a light ink wash what this does is add shadow to the folds in the miniature and darkens the main colour ready for highlighting.

The next step is highlighting the uniform what you want to do is hit the most raised parts in this case with 50/50 Khaki and Khaki Grey and working up to pure Khaki Grey on the very edges and pure Khaki on the edges of the webbing.

Now that's the uniform done and we're on the home stretch skin and faces. I've already done the the flesh areas with Beige Brown the next colour is Medium Fleshtone.
If you're feeling keen the try highlighting the raise parts of the face, cheekbones, nose, chin with Flat Flesh

And to finish is all off one helmet in Russian Green

Now it's done all that's needed is some matt varnish and his 200 or so friends to be painted the same way. I hope you have enjoyed this short tutorial as stated it was designed for people who are just getting into painting Flames of War or those folk who are a bit afraid of picking up a brush and attacking the 15mm scale. Remember to never stop learning.
No comments:
Post a Comment