Showing posts with label PTO. Show all posts

26 May 2016

HIT THE BEACH!!!! Dan's 1500 Marines Ready to Rumble


Well I've finally finished and I'm going to play a game against Greg on the weekend. But first let's point out this beast and show you the pretty pictures.

HQ 2 x LVT(A)1 (37mm)   - 190pts


3 x LVT(A)1 (37mm)  - 285pts

3 x LVT(A)1 (37mm)  - 285pts

3 x LVT(A)4 (75mm)  - 205pts

Marine Rifle Platoon 3 x Rifle Squads with 2 LVT(4) Amtrac - 275pts


Marine Rocket Launcher Battery 3 x 4.5in Mk 7 with 5 crew - 105pts


Air Support Limited F4U Corsair - 150pts

So here we are ready to take the fight back to the Japanese this weekend wish me luck.


11 May 2016

Mike Paints! - Marines WIP

with Mike


Work's been nuts and my son's started to get really big into tanks, so as you can imagine, I've been pretty busy with those let alone giving my Marines the proper effort they deserve. Oh well, it's time to own up to my work in progress!

I feel as though I've broken the back of this project, with my main combat platoons and some critical support platoons done-ish. I say "ish" because I'm deliberately avoiding basing until I've got most of the project moved up to that point and I can then do them all in one go to maintain consistency and theme. So what's done?

Combat Platoons & HQ
I did these first because they represented the largest total WIP hours and the essential building blocks for whatever force I'll be making. I chose two full-strength platoons of 9x stands each (10 with HQ) so that I could take a section from each and merge them into a third platoon if needed. I also modelled them with the spare BARs which actually ended me up with something like six spare riflemen figures per platoon to use elsewhere (a pretty cool bonus).


Mortar Platoons
The USMC mortar platoon blister comes with the figures to make 4x mortar teams equipped with with either 60mm or 81mm mortars. There are unique loaders for the two tpes of mortars, but they share the rest of the crew figures. So, I grabbed a few spare US Army 60mm crew and three spare medium bases and made all seven mortars up.

In the foreground is the 60mm mortars with USMC loaders and "army" crew. The 81s in the back have all new USMC crew sculpts. The mortars themselves are on popsicle sticks until basing is complete.

Dog Handlers
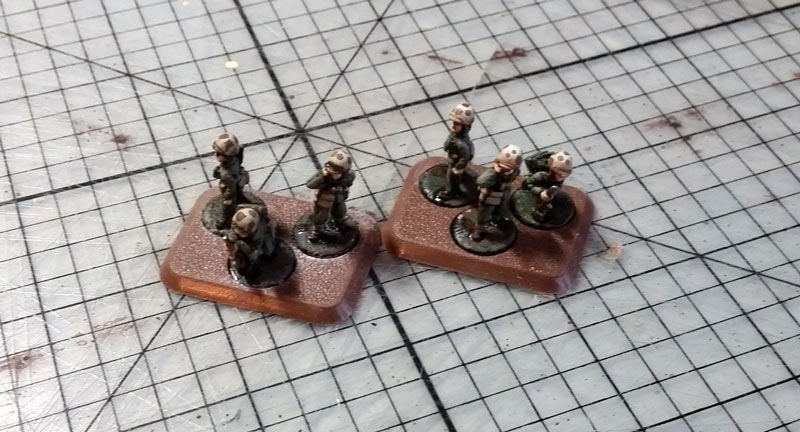
These were a fun pair of teams to have painted up. They are three figures to a base, which will help them stand out when combat attached to the rifle platoons.


Combat Engineers
The USMC Assault Engineer pack comes with enough teams to field either the Assault Section (with 2x Bazookas, 2x Flame throwers, and 2x pioneer teams) or the Marine Engineer Assault Section with is 4x Pioneer teams and 3x flame throwers. So I'd recommend buying two of these packs to max out on flame-throwers.

The flame-throwers are two figures per small base, a departure from standard FoW flame-thrower teams. Like with the Dog Handlers, this will help distinguish them once they are combat attached out. Similarly, I only placed 3 pioneer figs on the pioneer teams so that I could identify them quickly as well.


75mm SPG half-tracks
These are my favorites so far! I used the current MW 75mm GMC pack for these models, added some stowage from my bits box and installed a bunch of extra machine-guns.


M5A1 Stuarts
These are the bulk of my tank assets until I get my Satans and M4A2 Shermans painted up. That said, three of these are well over 600 points! Again, I just used the standard US M5A1 boxed set.


All told the above rings in at: 1945 points (PW).


Where to from here?
Machine-guns, 37mm anti-tank guns, a couple of Shermans, and my LVT transports!

Oh, and my F4U Corsair, which is my prize at the end of the project!

06 May 2016

Dan's Marines WIP

with Dan


The Marines are getting ready to hit the beach! This week I've managed to find some time to catch up on painting and now it's all down to weathering and washing.


Marine Rocket Battery is done just needs a bit of grass and the base edges touched up I also managed to find the misplaced crew members hiding on a stick at the back there :( Overall I'm pretty happy with these mini's I only hope they are better at hiding the Soviet Rocket Batteries.


The Marines themselves have been ready and waiting for a while now. When it comes to painting I really enjoy painting the complex fiddly things first that way I can have fun painting the rest of the army.


I'm on the home stretch just washes to go on my LVT's it's been a fun project. The tanks are currently coated in a gloss varnish this will help me to move around my washes and clean up my mistakes.


As you can see on the 75mm I've gone with a 3 colour camouflage but left it simple on the 37mm LVT's. The tracks have been painted with a mixture of gunmetal and AK interactive dark tracks colour. 


On the back of the LVT 37mm are also two machine gunners who are wearing Mae Wests getting the right shade of yellow is important to me so I built this up with Vallejo Dark Sand and the cut it with Model air yellow to give a worn look.

I hope to have these completed by the end of next week ready for a game and a battle report. Meanwhile here's a video I made about painting the LVT's


03 May 2016

So....many.....infantry! Greg's Hohei WIP

with Greg

I knew that I should have baggsed the Marines when I had the chance! Who knew that painting a predominantly infantry force would mean painting so many individual infantry models?!

In all seriousness though, this one has been a real challenge for me. Typically I start something (refer to my EW Kradschutzen over on Painted Madness) and then move on to the next shiny thing in the painting queue. This time I really had to stick with it and get it done so we could get some games in and show you guys how we've fared!


So, here we go then...


This is the big one that I wanted to see through to the end. Two full Hohei platoons, painted, based and ready to go! All told, we're looking at roughly 100 individual minis! I have a huge respect for anyone crazy enough to have done a Strelk platoon now!


What this means now is that I can start moving on to my support options. I've already started this and have finished my Type 92 infantry guns.


These guys are really gonna cause some trouble for the Marines I think!

They're AT3 and FP3+ in direct fire which is great news and because they're Japanese, they get the benefit of the Fire Burst special rule meaning that they don't suffer the +1 to hit penalty for only having 2 guns!

And all for the measly sum of 85 points (including 15 for the observer) at Fearless Veteran!


And of course, I really couldn't help myself and started some of my tank support...


Yay! Te-Ke!


And Chi-Ha!


So there you have it! That's where I'm up to! Over the next week or so, I'll finish my support options which is my Hohei weapons platoon, a few more tanks and....MY ZERO/FRANK!

If you're interested in how I painted my Japanese infantry, I did a wee video as well. Its on YouTube and everything!


Thanks for reading!

22 April 2016

The Battle of Tarawa: Mini Campaign, Day 4

Battle of Tarawa: Part IV
With special guest writer, 
Dr. Michael L. McSwiney, Ph.D.

Day 4 – November 23, 1943 – Mopping Up


On the final day of the battle, the Marines advanced across the narrow tip of Tarawa reducing the last Japanese resistance.  During this offensive, the Marines were supported by two M4A2 Sherman tanks named China Gal and Colorado as well as five Stuart light tanks.  During this action, the lead Marine elements would sometimes bypass defenses in order to outflank the Japanese.

The Mission
Play “Pincer” with a Marine Rifle Company attacking a Veteran Yosai Hohei Chutai. The battlefield should have an unimproved road running through it, though that road can be interrupted by mines, barbed wire, or other fortifications as the defending player sees fit.

USMC Force
The Marine force should include Assault Sections and may include both medium and light tank support.  The Marines should also have access to 75mm pack howitzers.

Japanese Force
The Japanese force should not have any tank support at this point.


~Fin~

For Day 1 of the battle, check out: The Battle of Tarawa: Mini Campaign, Day 1...
For Day 2 of the battle, check out: The Battle of Tarawa: Mini Campaign, Day 2...
For Day 3 of the battle, check out: The Battle of Tarawa: Mini Campaign, Day 3...

Thanks for reading! We hoped you enjoyed this series. Played through the campaign? We'd love to hear your experiences and take on your feedback! Get in touch with us in the comments below, or through the Behind Enemy Lines Facebook page or the Flames of War: Pacific page and let us know how it went! Our sincerest thanks to Dr, Michael McSwiney for his writing and enthusiasm!

Be sure to check out Mike's blog: Miniature Ordnance Review for more excellent articles and painting guides!

21 April 2016

Dan Models! Improvised Armor for M4A3 Shermans

Today we take a brief respite from the Battle of Tarawa campaign to bring you another of Dan's fantastic videos.

 In this video Dan looks at adding improvised armor to your M4A3 Shermans.

 Thanks Dan!

20 April 2016

The Battle of Tarawa: Mini Campaign, Day 3

Battle of Tarawa: Part III
With special guest writer, 
Dr. Michael L. McSwiney, Ph.D.

Day 3 – November 22, 1943 – Advance from Red 1


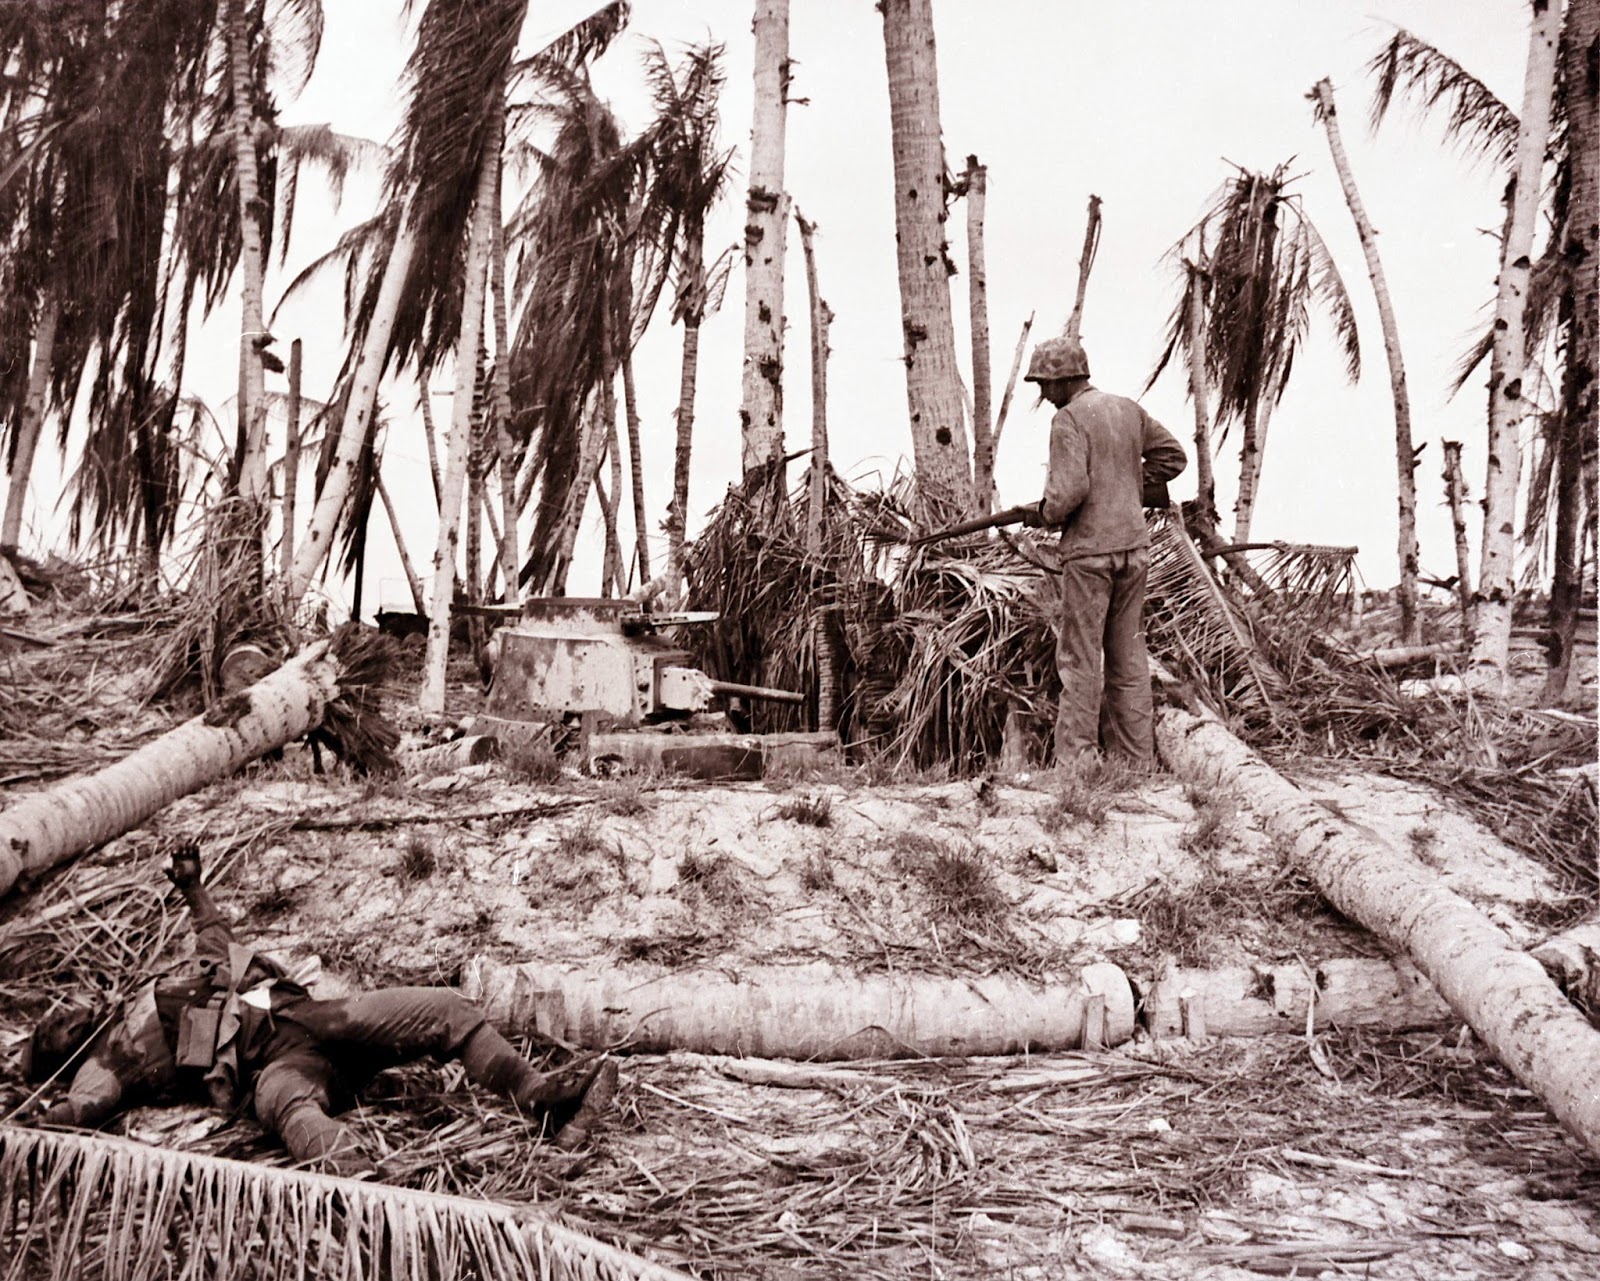
In this photo, you can see Lt. Alexander Bonnyman Jr (2nd Battalion, 8th Marines)
lead his heroic assault on 22 November 1943.  It's said you can see him fourth
from the right. More information on this Medal of Honor winner here...
On November 22, the 1st Battalion of the 6th Marine Regiment began a westward advance across island to meet up with the forces that had advanced from Red 2 and 3.  By the end of the day, they would reach the eastern end of the airstrip on the island.

The Mission
Play “Dust Up” with a Marine Rifle Company attacking a Veteran Hohei Chutai.  The battlefield should be the western part of Tarawa’s airfield along the south side of the atoll.  The airstrip should run along the long side of the board and there should be some support buildings and other features for cover.

USMC Force
The Marine force at this point should have access to pack howitzers and machine guns, but should still be bereft of most heavy artillery and amphibian tank platoons.

Japanese Force
The Japanese force should likely not include armor at this point, but they players can decide if the Japanese have a few Ha-Go tanks available.


Night of Day 3 – November 22, 1943 – Japanese Banzai Charge

The Japanese formed up for a counter-attack against the American Marines which was to commence on the night of November 22, but concentrated artillery fire broke up the attack.  At 3:00AM the next morning, the Japanese conducted a banzai charge against the American lines.

The Mission
Play “Hasty Attack” with a Japanese Veteran Hohei Chutai attacking a Marine Rifle Company. The battlefield should be the eastern end of the airstrip on Tarawa and include a partial runway, aprons, and some buildings.

USMC Force
At this point, the Marines should still lack heavy artillery, but may have light tanks and should have naval gunfire support as the destroyers USS Schroeder and USS Sigsbee provided vital artillery support to the Marines.

Japanese Force
The Japanese should largely focus on infantry formations with little in the way of heavy weapons or guns. This battle should use the “Hell by Day, Paradise by Night” rule.

Keep a look out, Marines!

Thanks for reading and stay tuned for: Day 3 – November 22, 1943 ...
For Day 1 of the battle, check out: The Battle of Tarawa: Mini Campaign, Day 1...
For Day 2 of the battle, check out: The Battle of Tarawa: Mini Campaign, Day 2...

Be sure to check out Mike's blog: Miniature Ordnance Review for more excellent articles and painting guides!

19 April 2016

The Battle of Tarawa: Mini Campaign, Day 2

Battle of Tarawa: Part II
With special guest writer, 
Dr. Michael L. McSwiney, Ph.D.

Day 2 – November 21, 1943 – Assault on Green Beach

On day 2, the Marines who had landed on Beach Red 1 were ordered to take Green Beach.  Given most of the Japanese defenses on Green Beach were set to repel a seaborne invasion; the Marines were able to flank some of the defenses.

The Mission
Play “Hold the Line” with a Marine Rifle Company attacking a Veteran Yosai Hohei Chutai. The board should depict a beach and its defenses in the Japanese deployment zone and can have a few small buildings toward the American edge.  You may want to put a coast line along one of the long edges to simulate a flank attack up the shoreline (note that this will restrict arriving Reserves).  In this particular battle, Marine casualties were light and naval gunfire support was used to great effect against dug-in enemy positions.

USMC Force
As above, the Marine force should have strong naval gunfire support and air support and should not have access to artillery (apart from mortars), self-propelled gun platoons, naval construction platoons, light tank platoons, or amphibian tank platoons.

Japanese Force
The Japanese should have access to the entire list except Air Support, Naval Air and Sea Support, and Armour (as this was concentrated further east).


Day 2 – November 21, 1943 – Advance from Red 2 and 3

The Mission
Play “No Retreat” with a Marine Rifle Company attacking a Veteran Yosai Hohei Chutai or a Veteran Hohei Chutai.

The battlefield should include part of an airstrip crossing the battlefield in roughly the center of the board, and some buildings or defensive works should be near the Japanese board edge.

USMC Force
The Marine force should not include LVT’s at this point, but should include Marine Artillery Batteries with M1A1 75mm pack howitzers, but should still not have access to self-propelled gun platoons, naval construction platoons, light tank platoons, or amphibian tank platoons.

Japanese Force
The Japanese force can field anything available in the list except Air Support, Naval Air and Sea Support.  The only Armour available to the Japanese should be the surviving Ha-Go tanks.

One key facet of this battle was the Japanese set up several additional machine gun posts (which can be represented by Hohei Machine-Gun Platoons, Hohei Weapons Platoons, or HMG Nests) along key lines of advance.  To counter these, the Marines brought up their own heavy machine guns (which can be represented by Marine Machine-Gun Platoons with either M1917 HMG or M2 .50 cal HMG teams).

Move out!

Thanks for reading and stay tuned for: Day 3 – November 22, 1943 ...
For Day 1 of the battle, check out: The Battle of Tarawa: Mini Campaign, Day 1...

Be sure to check out Mike's blog: Miniature Ordnance Review for more excellent articles and painting guides!

18 April 2016

The Battle of Tarawa: Mini Campaign, Day 1

Forward
This week we have a very special article series for you all. Perhaps one of the most acclaimed aspects of the new Battlefront PTO books are the mini-campaigns included in them. We talked briefly about them several weeks back, but they are worth mentioning again. These are by far my favorite aspects of the book and I sincerely hope we can see more of these sorts of gaming ideas in future books.

Today we embark on an article series written by Dr. Michael L. McSwiney, Ph.D, I've had the absolute pleasure of working with Mike over several book projects during my time at Battlefront, and he's continued to support projects such as the PTO books through great articles and writing. He's got a great grasp on blending historical research with the action on the tabletop. We're honored to have him share a mini campaign like the ones found in the PTO books, So with our sincerest thanks to Dr. McSwiney, and without further ado, we'd like to present his Flames Of War mini-campaign following the Battle of Tarawa.

- Mike


Battle of Tarawa: Part I

With special guest writer, 
Dr. Michael L. McSwiney, Ph.D.

The Battle of Tarawa was largely fought on and around the island of Betio.  The Japanese had been fortifying the island for over a year, and had brought in several coastal guns to defend the atoll.  Rear Admiral Keiji Shibazaki, commanding the Japanese forces at Tarawa, boasted that “it would take one million men one hundred years” to capture the island.  Over the course of the four day battle, casualties on both sides were high, with only one Japanese officer and sixteen Japanese enlisted surrendering out of an original garrison of over 4600.  Korean laborers brought in to fortify the island also suffered greatly, with only 129 surviving out of an original strength of 1200.  American casualties were almost 900 killed in action and nearly 2200 wounded in action sparking protests on the home front.  However many lessons were learned from Tarawa and would lead to the success of future amphibious operations in the Pacific.


Day 1 – November 20, 1943, Assault on Red 1, 2, and 3


The Mission
Play “Atoll Landing Mission” with a Marine Rifle Company attacking a Veteran Yosai Hohei Chutai. The battlefield should be a beach table with a clear reef and lagoon.


USMC Force
The Marine force should all be equipped with LVT(4) Amtrac armored personnel carriers, as these were the only transport craft able to make it successfully to the beach during the first day of the battle.  The Marines should have strong naval gunfire support, air support, and can have one or two platoons of 75mm M4A2 Sherman tanks as some were able to make it ashore and proved effective. The Marines should not have any artillery (apart from mortars), self-propelled gun platoons, naval construction platoons, light tank platoons, or amphibian tank platoons.  


Japanese Force
The Japanese on Tarawa were generally well-supplied and well prepared and included both IJA and SNLF personnel.  The Japanese force can field anything available in the list except Air Support, Naval Air and Sea Support.  The only armor available to the Japanese was roughly 14 Type 95 Ha-Go Tanks. 

Good luck, soldiers!


Thanks for reading and stay tuned for: Day 2 – November 21, 1943 ...

Be sure to check out Mike's blog: Miniature Ordnance Review for more excellent articles and painting guides!