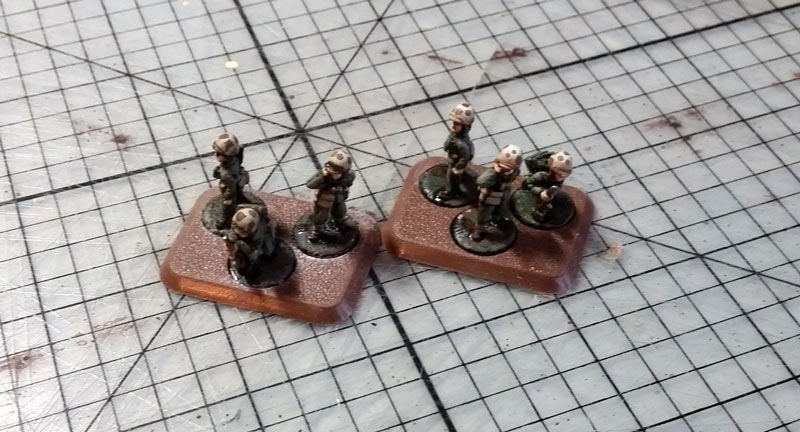
With Greg and Dan

This is it! This is what we've been building over the last couple of months toward and the guys were definitely excited to finally see armies on the table! Mike brought his mass of Pacific terrain around to the N00blair and got a massive Pacific table setup and ready to go for us. I may have played around a little with it as well...

(Watch this space, Mike and I might get some Fow Vietnam action going soon...)
So Dan and I were playing this game, 1500 points of Pacific ready to go. Dan's list looked something like the 1500 points in his last article, but for a refresher...
| HQ | 2 x 37mm LVT |
| Combat Platoon | 3 x 37mm LVT |
| Combat Platoon | 3 x 37mm LVT |
| Combat Platoon | 3 x 75mm LVT |
| Support Platoon | Full Marine Rifle Company with LVT transports |
| Support Platoon | Marine Rocket Platoon, 3 Trucks with extra crew |
| Aircraft | Limited Corsairs |
My 1500 points of the Empire's finest read something like this:
| HQ | Hohei Chutai HQ with Regimental Standard and Sniper |
| Combat Platoon | 3 Hohei Rifle Squads with Banners |
| Combat Platoon | 2 Hohei Rifle Squads with Banners |
| Support Platoon | Hohei Weapons Platoon with 2 x HMG and 2 x Anti-Tank Rifles |
| Support Platoon | Battalion Gun platoon with 2 x Type 92 70mm Guns + Observer |
| Support Platoon | 3 x Te-Ke (MG) |
| Support Platoon | 3 x Chi-Ha |
| Aircraft | Limited Zero |


The Buck Rogers men take shelter in the terrain beyond the rice paddies, lest they become an easy target for potshots from the Japanese or possibly harassment from Frank.
And so, with the battle lines drawn, deployment made and the usual crass mutterings that goes along with any game Dan and I play, we kicked into:
FLAMES OF WAR PACIFIC!!!
Turn 1:
The Marine air wing tried to get down and support their Marine brothers only to be chased off by their Japanese counterparts. The Marine tanks start their slow roll forward toward the Japanese lines. At this range though, they're unable to even get close to shooting so settle for calling on their rocket truck mates for a little help. The Buck Rogers men range in but their shooting is unsuccessful in dislodging any of the Imperial defenders.
The Marine air wing tried to get down and support their Marine brothers only to be chased off by their Japanese counterparts. The Marine tanks start their slow roll forward toward the Japanese lines. At this range though, they're unable to even get close to shooting so settle for calling on their rocket truck mates for a little help. The Buck Rogers men range in but their shooting is unsuccessful in dislodging any of the Imperial defenders.


Having chased off the Corsairs, the Japanese aircraft fail to turn up and assist in the defence, nor have the reserves made it to the battle as yet. Not willing to give away their concealed positions, the Japanese sit tight in their foxholes.
The Japanese sniper however has snuck into position and takes aim at the Buck Rogers men... and a perfect shot into one of the ammunition containers sees one of the trucks erupt into flames. First blood to the Japanese.

The Marines are now crossing that river...a much easier task given they has amphibious vehicles! As the Amtanks start rolling forward toward the Japanese lines, they open fire. Canister and .50 cal filling the air...


And when the smoke had cleared...not a single shot had hit.
The Japanese tank support rolls on this turn, much needed as the Japanese air attack was chased off by the waiting Marine support.

With the Marine tanks now closer than they potentially should be, the Japanese launch their ambush! With their anti-tank rifles in range, they open fire. The result, 2 bailed Amtanks.


Much glory is still to be had...
Turn 3


Much glory is still to be had...
Turn 3
The American air has suck past the waiting Japanese interdiction and has lined up on the Japanese tank support rolling toward the fray. This could get ugly...

Seeing the opportunity approaching, the Marine platoon in its Amtrack dismount into cover and start taking potshots at the staunch Japanese defenders...

And once again, it would appear that their sights are out of alignment. No shots coming close to hitting. Fortunately, the Marine rocket battery has ranged in and managed to keep some Japanese heads down.

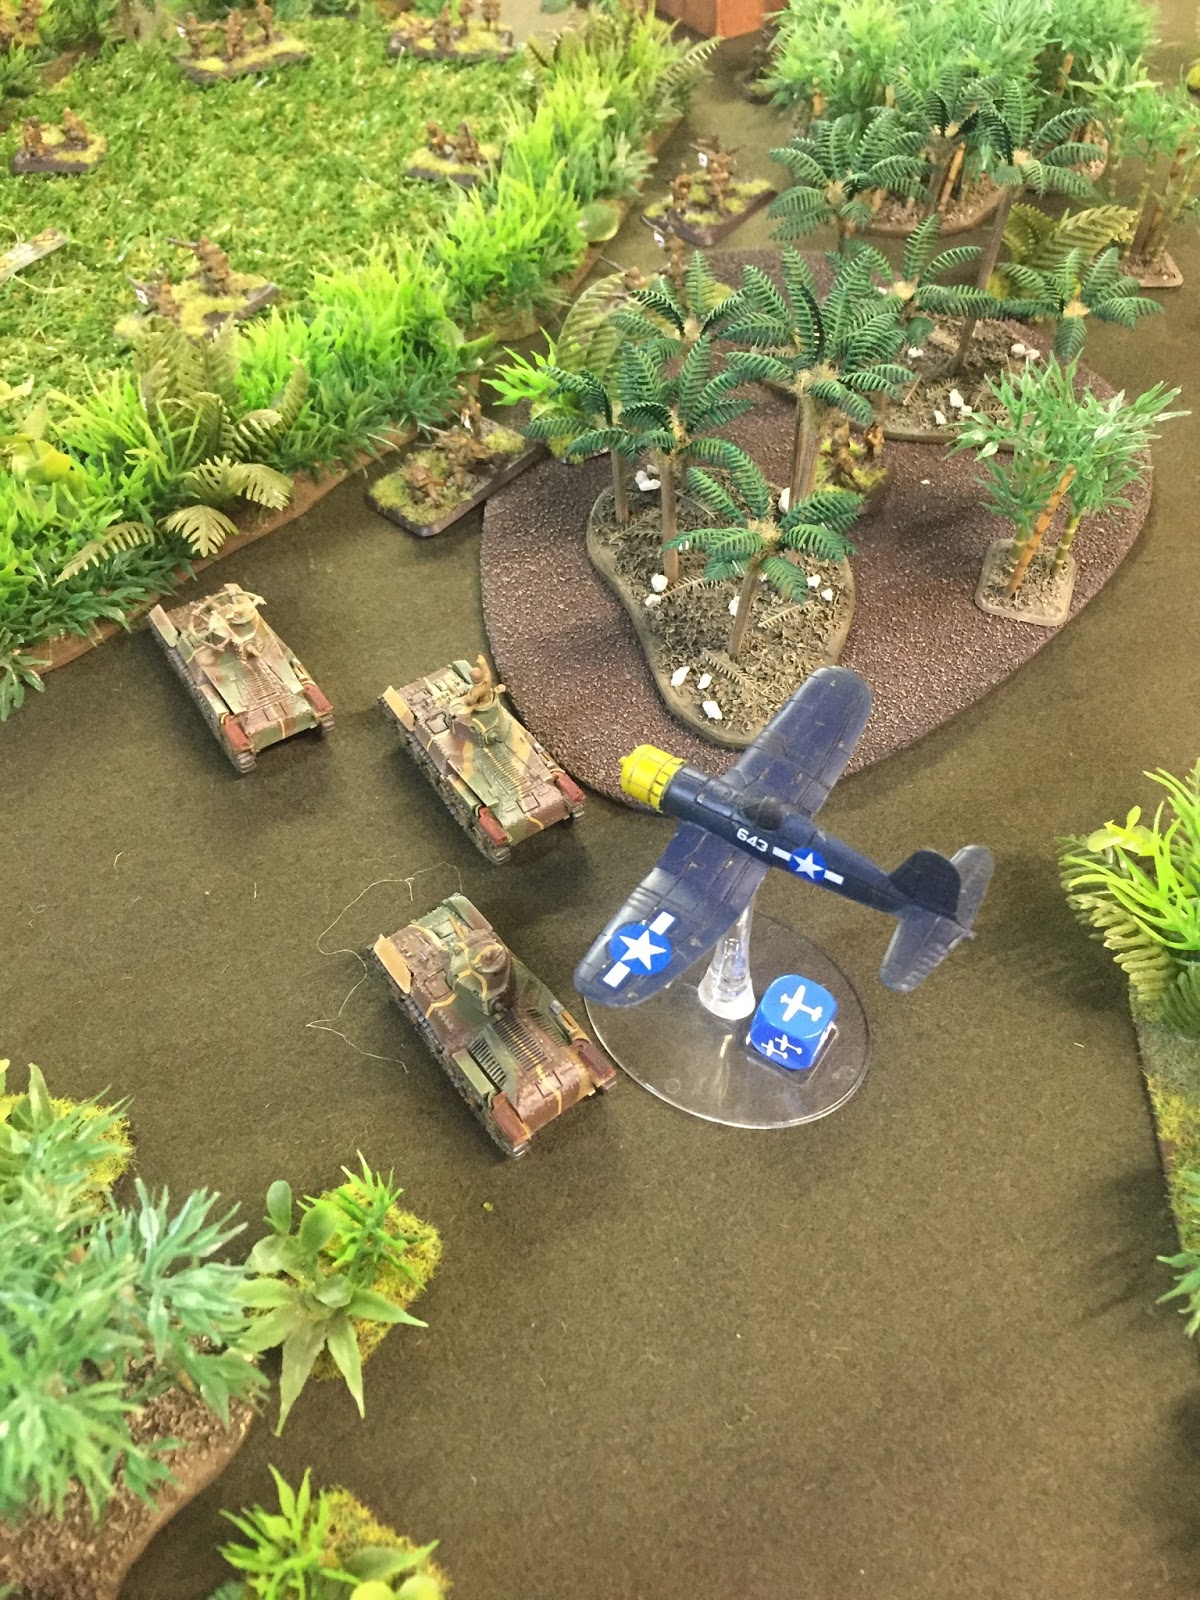
Surely the mighty Corsair could score a kill for America?! It's ranged in and can see the tanks....the bombs fall and....miss. It's just not coming up Dan at the moment.
The Japanese counter offensive starts with all remaining reserves coming to the front. Infantry guns take up positions to unleash hell next turn while the mighty little Te-Ke's roll forward to offer assistance.

Go little tanks, go!
Seeing the opportunity approaching, the Marine platoon in its Amtrack dismount into cover and start taking potshots at the staunch Japanese defenders...


Surely the mighty Corsair could score a kill for America?! It's ranged in and can see the tanks....the bombs fall and....miss. It's just not coming up Dan at the moment.
The Japanese counter offensive starts with all remaining reserves coming to the front. Infantry guns take up positions to unleash hell next turn while the mighty little Te-Ke's roll forward to offer assistance.

Go little tanks, go!
Chi-Ha's come forward in an attempt to offer assistance to their mates.

The Japanese infantry fail to unpin, but this will not deter them from opening fire on the Marine platoon lingering close. The Japanese have been waiting for this moment and take aim...2 Marine squads paying the price of straying too close. We advance the turn...
Turn 4
On hearing their brothers are paying the ultimate price, the Amtanks on the US left flank are poised to press their advantage. Seeing the Japanese AT capability here is non-existent, they push forward with the goal of assaulting and taking their objective.

The Japanese defensive fire is ineffective in driving off the attack and the US tanks roll in to squish, taking 2 squads in their wake. The Japanese counter-assault and score a hit but fail to penetrate the American armour. The Americans, secure in the metal boxes, immediately fail their morale check to come back and are driven off...BANZAI!

On the right flank, more shooting into the stoic Japanese line fails to dislodge them. The Marines, waiting to take the fight to the Japanese, don't dig in...

The Japanese tanks roll forward to bring their guns to bear in support of their honourable brothers. The invaders will pay dearly...

The infantry guns receive the call from their spotter to range in on the rocket battery and take aim. They hit and the battery is all but destroyed by the falling 70mm shells.
The Marine squads take more fire from the Japanese line and again, casualties fall.
Turn 5
Seeing the advantage still with them, the Marines on the left press forward again, this time removing the defenders standing in their way.
With their tank support gone, the Marines still try and dislodge the Japanese defenders managing to take a squad down.
Seeing the objective unguarded, the single Japanese ATR moves toward the building close and knocks on the door. It would appear that the guys inside locked it before they died though...they see no option but to fire. Bailing one of the tanks.
The Te-Ke's, seeing that the situation is becoming dire, roll into the mix knowing that it may well be a suicide mission. There is still time!

Having removed the impending threat from the right, the Chi-Ha's now roll ahead in an attempt to finish the Marine infantry. The Marine tanks explode and the remaining Marines are routed....

The Japanese infantry fail to unpin, but this will not deter them from opening fire on the Marine platoon lingering close. The Japanese have been waiting for this moment and take aim...2 Marine squads paying the price of straying too close. We advance the turn...
Turn 4
On hearing their brothers are paying the ultimate price, the Amtanks on the US left flank are poised to press their advantage. Seeing the Japanese AT capability here is non-existent, they push forward with the goal of assaulting and taking their objective.


The Marine squads take more fire from the Japanese line and again, casualties fall.
Turn 5
Seeing the advantage still with them, the Marines on the left press forward again, this time removing the defenders standing in their way.
With their tank support gone, the Marines still try and dislodge the Japanese defenders managing to take a squad down.
Seeing the objective unguarded, the single Japanese ATR moves toward the building close and knocks on the door. It would appear that the guys inside locked it before they died though...they see no option but to fire. Bailing one of the tanks.
The Te-Ke's, seeing that the situation is becoming dire, roll into the mix knowing that it may well be a suicide mission. There is still time!

Having removed the impending threat from the right, the Chi-Ha's now roll ahead in an attempt to finish the Marine infantry. The Marine tanks explode and the remaining Marines are routed....
Turns 6 - 7
Much the same in these turns with the Marine forces attempting to remove as many of the defenders as they can. A mass of fire hits the Te-Ke's yet they still hold on and refuse to yield to the superior fire.
One of the tanks in the centre attempts to assault the remaining ATR, still outside the building, but is bailed from defensive fire.
Dan's Marine CO is destroyed by the Chi-Ha's and the rest of the centre tank platoon also takes a casualty.

If the Japanese can hold on the left and force a test, there could be a win here for them! They just need to destroy one more platoon!
Turn 8
The remaining ATR and Te-Ke's finally succumb during the Marine shooting phase, leaving the objective unguarded and open. The time is now...
FINALLY! FINALLY! The Japanese air gets through and dives in...
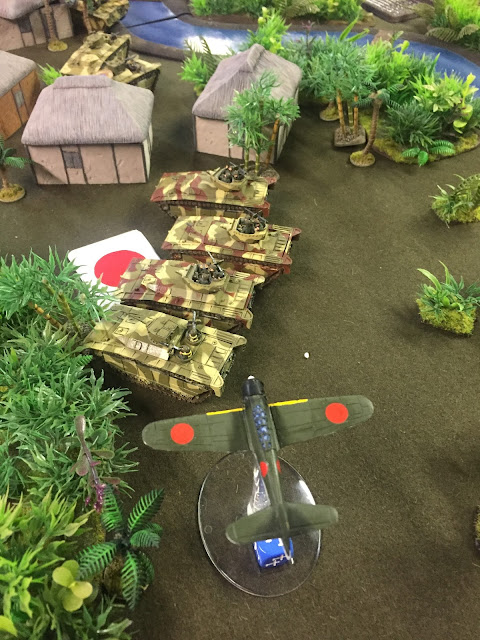
They survive the mass of AA fire heading toward them and range in...and the bombs fall...

The result is 2 destroy in the platoon and the 2IC is bailed. Dan rolled a lucky 6 for the centre tank meaning the platoon has stuck around and takes the objective at the start of Marine turn 9.

The Aftermath
A hard-fought 4-3 victory to the Marines and this one really could have swung either way.
Thoughts from the combatants:
Greg - As a first foray in FoW: Pacific, this was awesome! At no point, despite the superior Marine equipment, did I feel like the game was out of my reach and had Dan not made that final save, I think I would have gotten him on the next turn. There is definitely a great balance to the PW points and I'm really looking forward to the next game against Mike's Marines.
Dan - The battle was hard-fought from the start with the jungle proving too much for support aircraft. Hard-pressed, the lightly armoured LVT's made their way through the thick undergrowth and through timely use of canister and .50cal fire, the objective was secured. The Japanese infantryman is a tough rock to move and I was on a knife-edge for most of this game.
A massive thanks to Battlefront, once again, for providing us with both the opportunity and the armies to get stuck into Pacific, we really appreciate it.
All the terrain you see on the table comes from Mike's personal stash, and most of it was lovingly hand-crafted. Check out the tutorials he wrote!
Thank to Adam from Dice of War for the dice! The Japanese dice roll HEAPS of 6's!
One of the tanks in the centre attempts to assault the remaining ATR, still outside the building, but is bailed from defensive fire.
Dan's Marine CO is destroyed by the Chi-Ha's and the rest of the centre tank platoon also takes a casualty.

If the Japanese can hold on the left and force a test, there could be a win here for them! They just need to destroy one more platoon!
Turn 8
The remaining ATR and Te-Ke's finally succumb during the Marine shooting phase, leaving the objective unguarded and open. The time is now...
FINALLY! FINALLY! The Japanese air gets through and dives in...


The result is 2 destroy in the platoon and the 2IC is bailed. Dan rolled a lucky 6 for the centre tank meaning the platoon has stuck around and takes the objective at the start of Marine turn 9.

The Aftermath
A hard-fought 4-3 victory to the Marines and this one really could have swung either way.
Thoughts from the combatants:
Greg - As a first foray in FoW: Pacific, this was awesome! At no point, despite the superior Marine equipment, did I feel like the game was out of my reach and had Dan not made that final save, I think I would have gotten him on the next turn. There is definitely a great balance to the PW points and I'm really looking forward to the next game against Mike's Marines.
Dan - The battle was hard-fought from the start with the jungle proving too much for support aircraft. Hard-pressed, the lightly armoured LVT's made their way through the thick undergrowth and through timely use of canister and .50cal fire, the objective was secured. The Japanese infantryman is a tough rock to move and I was on a knife-edge for most of this game.
A massive thanks to Battlefront, once again, for providing us with both the opportunity and the armies to get stuck into Pacific, we really appreciate it.
All the terrain you see on the table comes from Mike's personal stash, and most of it was lovingly hand-crafted. Check out the tutorials he wrote!
Thank to Adam from Dice of War for the dice! The Japanese dice roll HEAPS of 6's!